In this house, we do horror.
Horror is one of Steve’s favorite movie genres. It’s not my preferred one but I certainly don’t mind it. The slasher flicks are my favorite – I can sit down and watch a good old-fashioned knife-stabbing, blood shedding film any time of the year. The ones I have more of a problem with are the paranormal fantasy types because those scare the ever living shit out of me. (I’m looking at you Paranormal Activities). We are big fans of the classics and Steve, much to my chagrin sometimes, loves the B-movies – things like El Chupacabra takes Manhatten while Being Afraid of the Dark [1. Not a real movie, but you get my drift! :-)]
We do Halloween. When we lived in Pennsylvania we spent the entire month of October visiting any haunt that was within in a two hour radius [1. Shocktoberfest, Arasapha Farms, Jason’s Woods and Field of Screams were some of our favorites – in that order!]. We watched all of the scary movies AMC would play constantly. We spent weeks prepping our costumes, tons of money in the Halloween Adventure stores and went to as many events as we were invited to. This past year we dressed up for a party and to help my parents in their neighborhood haunted house. Steve was Jason Vorhees and chased kids with a chainsaw – loved every minute of it!
If you look back at that post, you’ll see Steve in his hockey mask. That mask was actually one he borrowed from my parents. It’s simple white plastic one that I’m sure they purchased from a costume store. We have one just like it somewhere. But for the longest time, Steve has been jonesing for a real one – one that looks all worn and authentic like in the movies but is light enough to wear. He thought he had been successful when he picked one up from Toys-R-Us, but that one ended up being a bit campy and really heavy.
Like I said, we do horror.
So I didn’t even blink an eye when I came across this site where they sell blanks made from the actual molds they used to make the mask from Friday the 13th part III [2. The first movie the hockey mask made an appearance. Anyone know why?] and all other subsequent movies. This was going to be one of Steve’s Christmas presents.
The key with these blanks is that you start with a white plastic mask that is lightweight and flexible but strong. Then you customize it anyway you want. The kit I bought is the one with the machete gash and it came with the mask, the straps and the chevron stickers. There was also a little collector’s mask in there that he still wants to customize and hang from his rearview.
To say he was elated would be an understatement. He has spent the past few nights taking the mask from a blank white piece of plastic to what I would daresay is an almost perfect reproduction. It looks really, really badass!
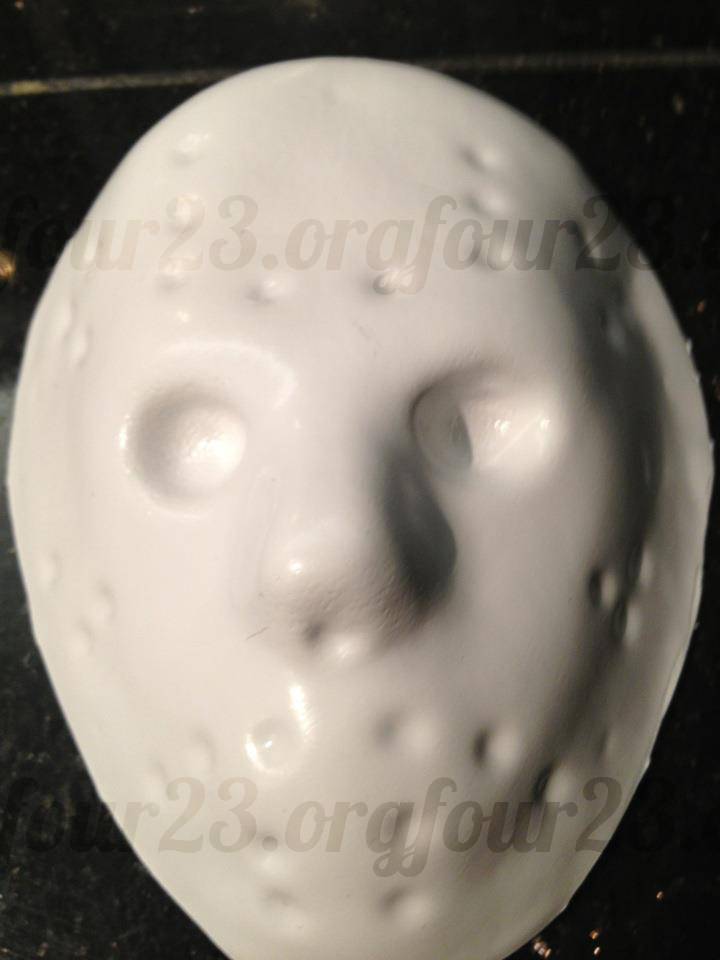
The one above isn’t the full face mask – it’s the mini decorative one but it gives you an idea of what he started with. The holes on the wearable mask were already drilled though. This picture is to show you the color is started at it – because the change is drastic.
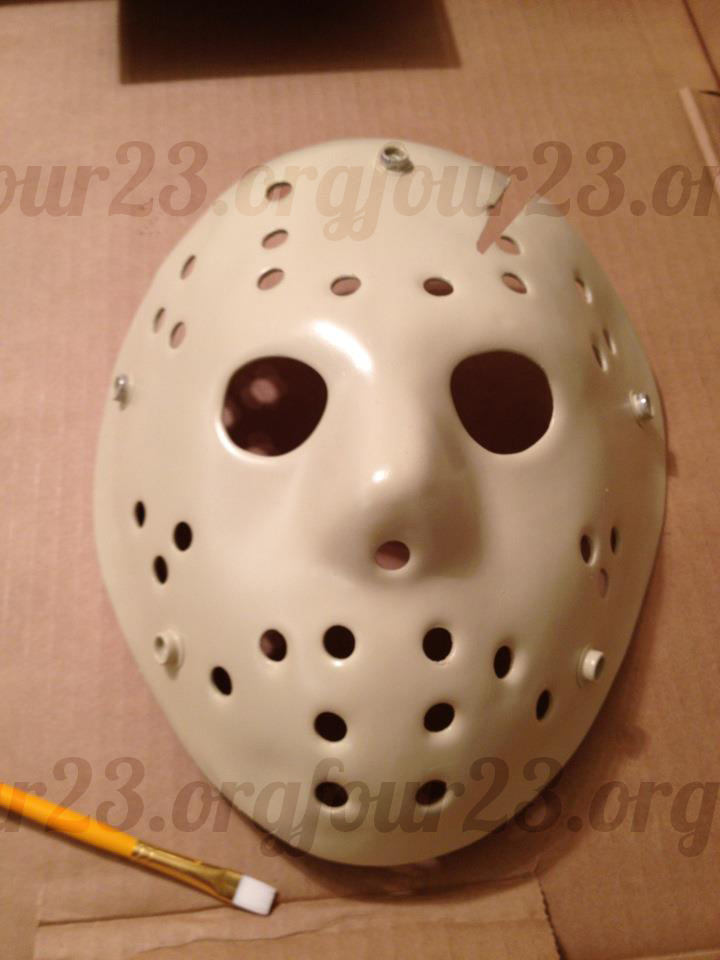
Next he trimmed and cut it to smooth it out and applied the snaps for the straps. He then applied a primer coat of Krylon plastic because the spray paint he had wasn’t designed for plastic. Once the primer dried, he used six coats of Krylon Satin spray paint in Almond.
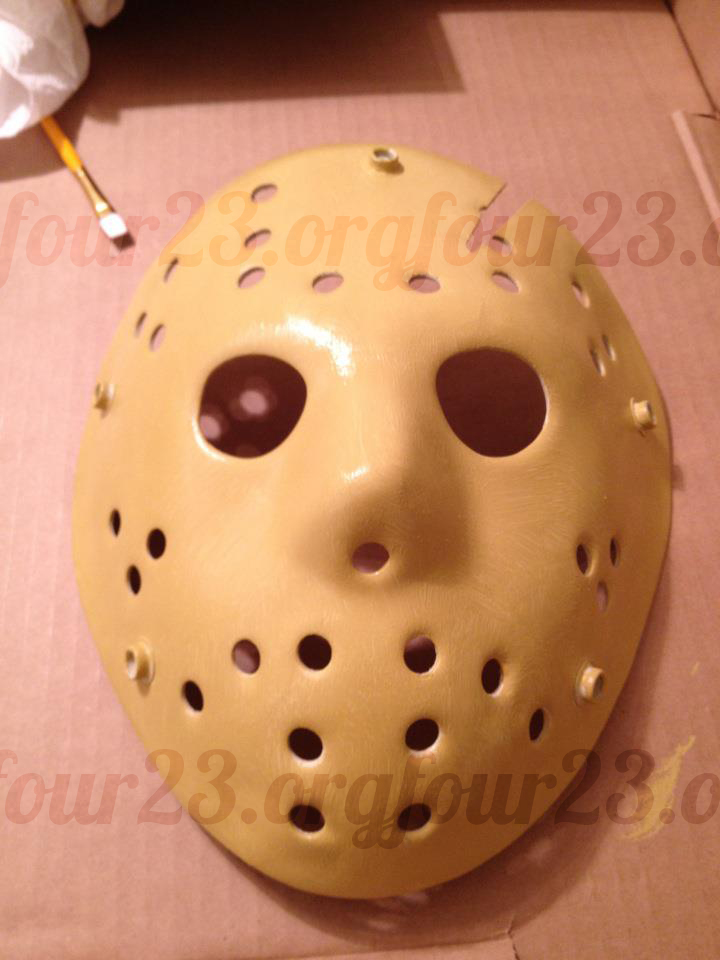
Next came a yellow “wash” coat which was a mix of some darker more brown based yellows (like burnt gold, etc.) and brown acrylic craft paints that you can find at any Michael’s (I think the brand we used was Folk Art). He used sponge tipped brushes to apply the paint all over the mask, let it dry for just under an hour than took it to the sink to wash most of it off. This is to give it that aged, beat up look. He did say he wished he’d let it dry a little longer. The purpose here is to be able to wash/rub most of it off so some of the paint is there but not overly noticeable.
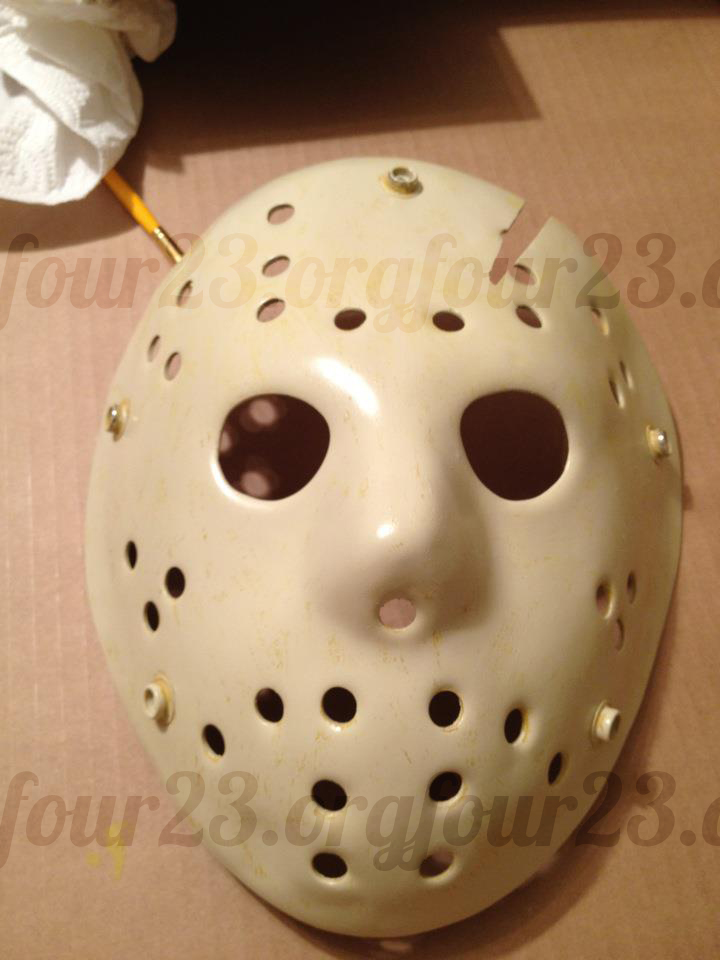
This is the result after the acrylic rub. It’s more noticeable in person but it really gives the masked an aged and weathered scuzzy look.
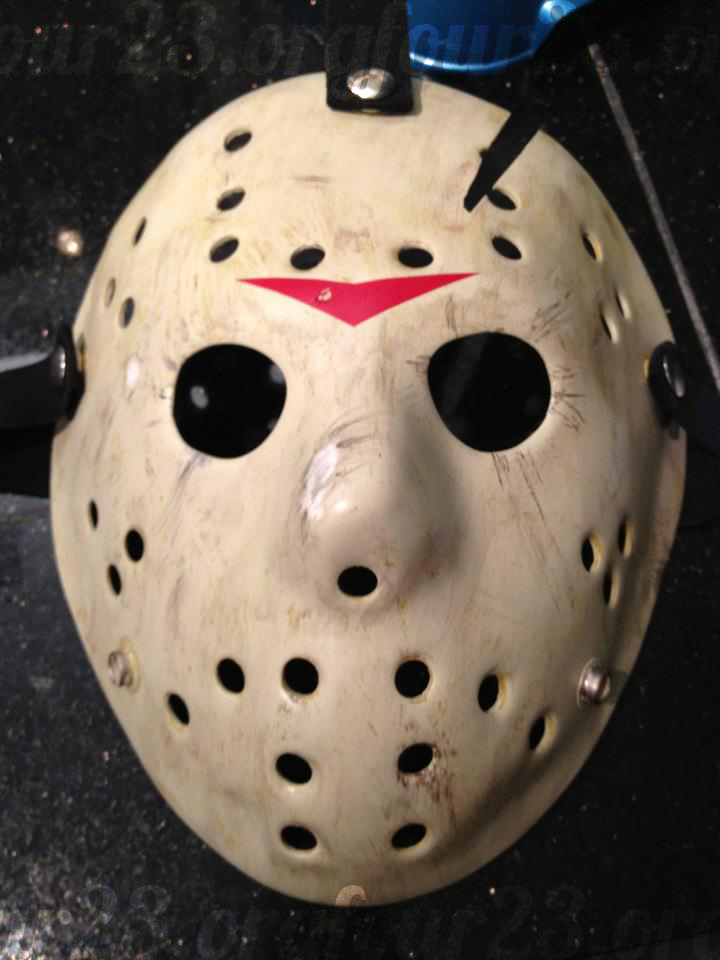
Next, just use some acrylic paints to give it some depth and detail. He took some sandpaper and roughed up parts of it to put cracks in the plastic then painted over them with various black and browns and rubbed away, leaving the paints in the cracks. The chevron was a sticker that came with the kit and he roughed it up a bit. Everything else on the mask is handpainted and weathered by Steve.
Five coats of satin clear spray later and we’ve got a pretty authentic looking Jason Voorhees mask. (click to embiggen – the devils in the details!)
Now he just need to build the outfit and he’s already set for next year! We have some ideas for my costume too that I think are awesome so you’ll have to tune in next Halloween to see what we’ve got brewing.
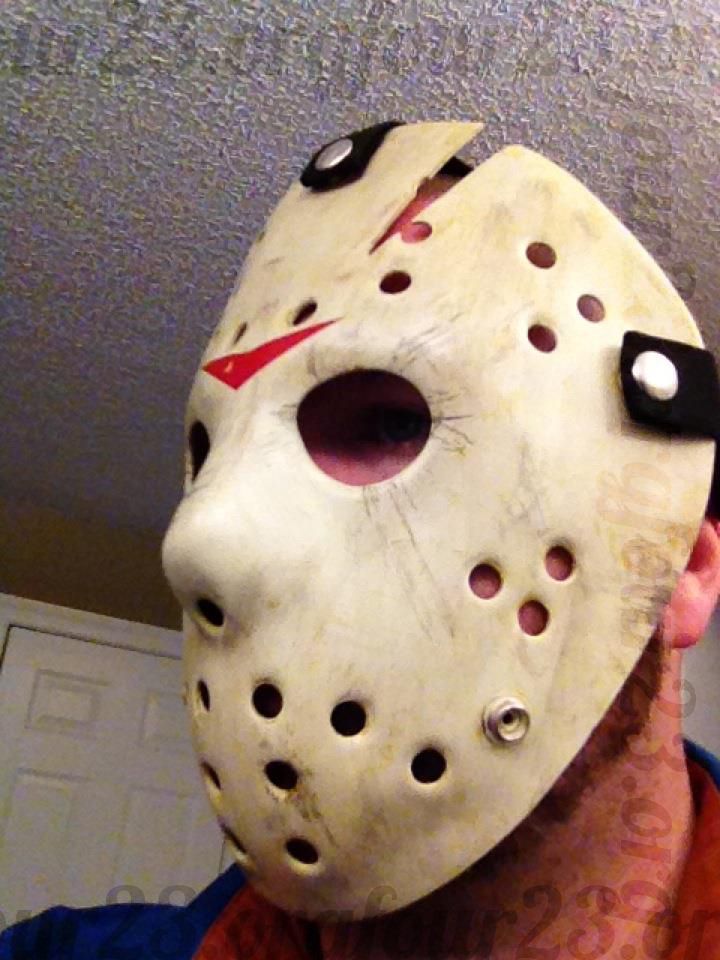
Sideview of him wearing the mask!
I love when he does stuff like this because he is usually the more logic and realistic one in the relationship while I posses the more creative and artistic tendencies and talents. I have found, however, that whenever he sets his mind on creating something like this (usually for Halloween) he is amazingly meticulous and ends up with a finished product that looks so good it blows my mind. The thing I also loved is that aside from the mask and the primer, I had every single thing on hand for the project and none of it was intended for the project at all but rather, just random paints and supplies I have laying around from my crafty experiments and paint classes. It’s like I planned this!
Regardless, I’d say this was one hell of a Christmas present and I am so stoked that he loves it. And thoroughly amazed at how realistic he made it look, especially since most masks out there are cheap reproductions or ridiculously expensive.
Now if we could only find a way to use the mask 364 other days of the year!



No Comments